

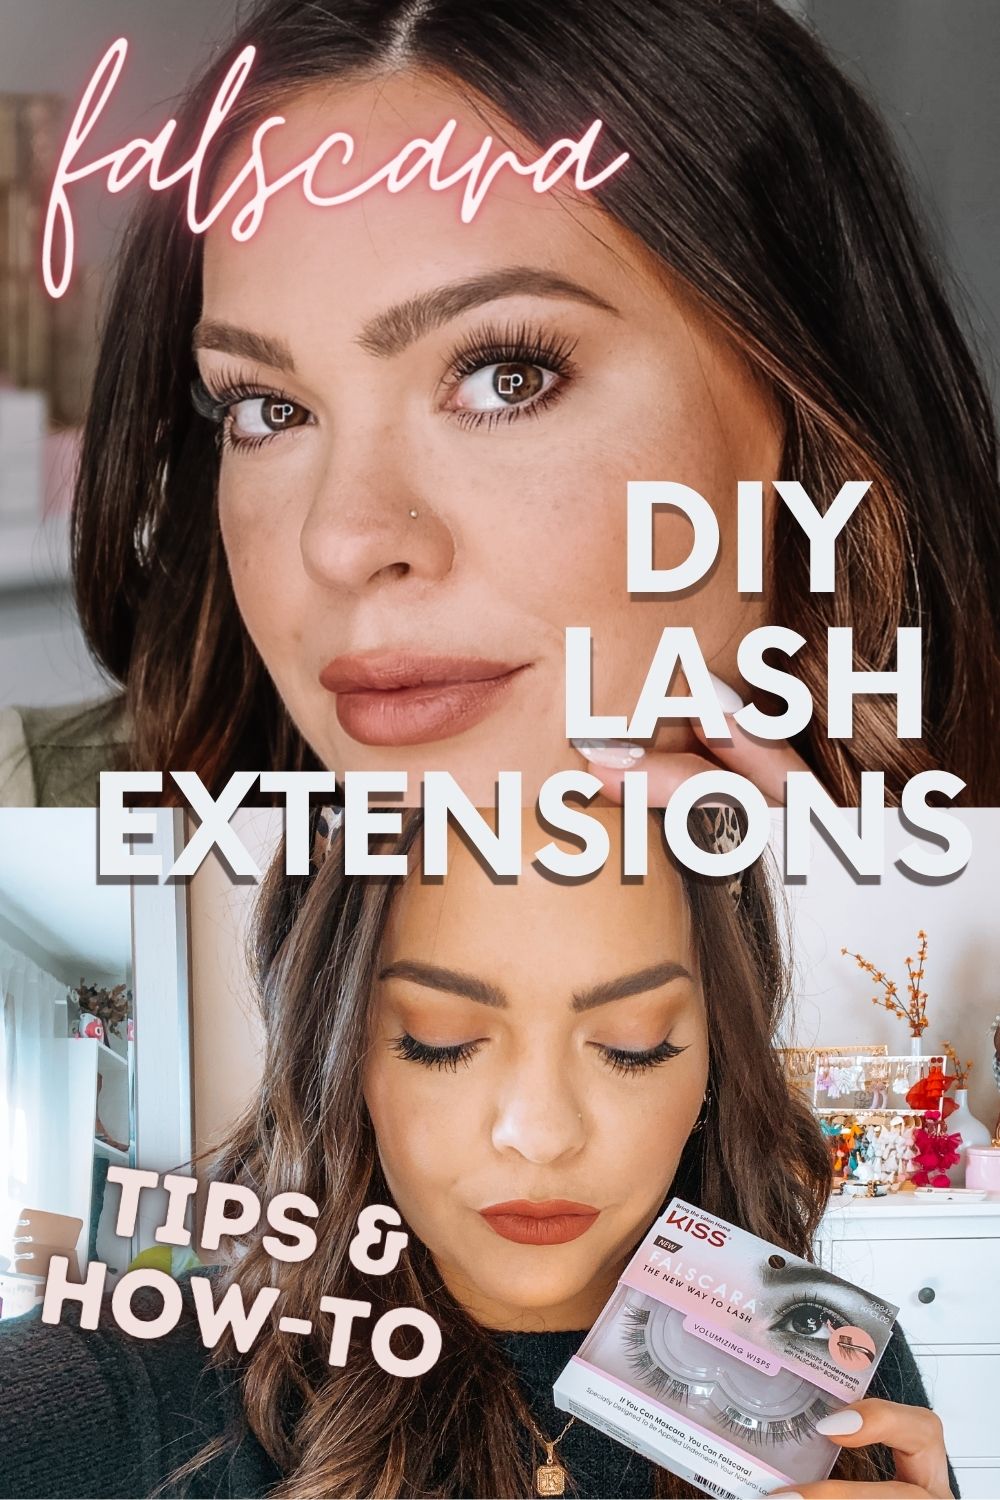
Hi Friends! Last fall I tried the Kiss Falscara DIY at home lash extension kit and shared a first impression video and review post. Now that I’ve used them way more, I have figured out the best way to wear them and wanted to share an updated post and video. I’m sharing my tips and tricks on applying the lashes, plus how to get them to stay on for up to TEN DAYS!
Keep in mind, this is my personal opinion and experience with this lash kit, and what works for me may not work for you.
About Falscara & How-To Apply:
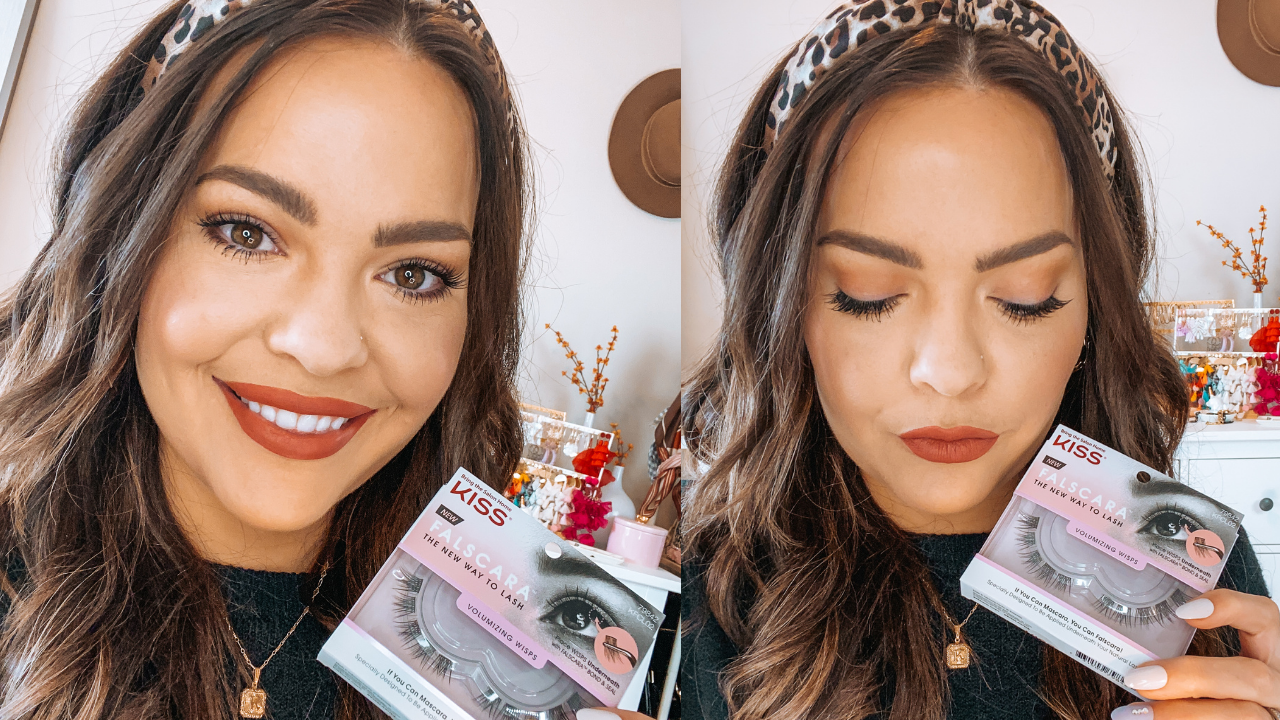
Kiss Falscara Lashes are very similar to Lashify, which I’ve shared in the past, but also different. The kit comes with a set of lashes cut into 5 parts, Falscara Eyelash Bond & Seal, and Falscara Eyelash Applicator. They also recommend the Falscara Lash Remover, but I do not recommend getting that. More on that below. Another item that is newer is the Overnighter Lash Sealer. I personally have not used this yet.
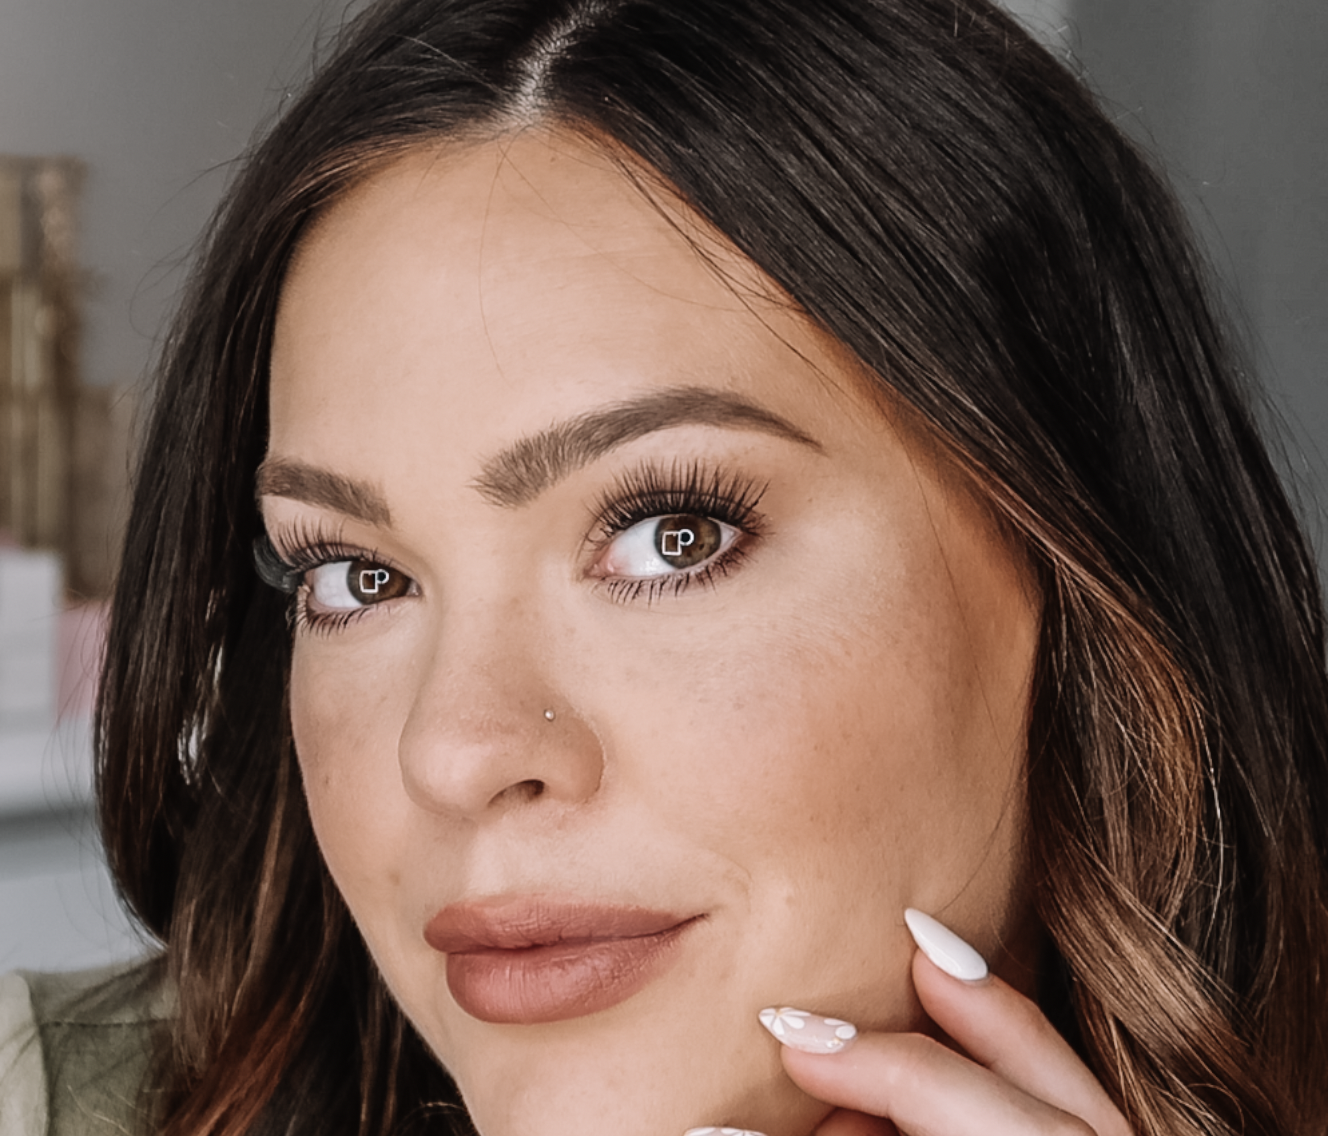
This kit doesn’t give you much as far as instructions go, but I know they recommend applying them with a clean face and lashes, however I’ve applied them after makeup before (with no mascara on my top lashes) and it works just fine. The lashes are applied UNDER your natural lashes. Apply the Bond to prime & prep the lashes, starting at the base where the lash meets your eyelid and bringing it towards the end of your lashes, but not all the way to the end. If you apply too much, it can get messy easily. Once the Bond is applied, I take each wisp chunk (starting from the outermost wisp in the package) and apply it starting at the outer corner of the eye and working my way in. If using the Falscara applicator tool, you will want to wipe off the tool between each application to avoid causing issues later. Watch the tutorial video for a more in depth look at applying them. After the lashes are applied, the Seal removes residue and locks your Wisps in place. The Seal has recently been reformulated and works much better than the first kit.
The Falscara kit is $19.99. It typically only comes with the lengthening or volumizing lashes and then you can purchase any additional lash sets separately.
My personal favorite lash set is the LIFTING WISPS, which I’ve only found on Amazon as of lately. I get them in the 3 or 6 packs. These came out after I originally tried the kit, and are by far the best for my lashes.
Tips for Applying the Lashes:
- Don’t use too much Bond or it gets messy quickly.
- Start from the outside and work your way in (both with the packaging and on the eyes)
- The lashes have a little drop of adhesive holding the wisps onto the packaging and they are very fragile and could tear if you’re not careful picking up the lash from the holder. Be sure to grab the entire lash wisp when pulling off of the package.
- Wipe off the applicator between each wisp application to avoid any mess. I personally use the Lashify applicator and it works wonders.
- When applying the wisps, the band should not touch your waterline and should be just above on your natural lashes.
- You may not use all of the wisps on your eyes, depending on the size of your lash line.
- Falscara lash wisps come with different lengths of lash wisps for your entire eye, but sometimes I’ve noticed that one side is a little more curled than the other, causing them to look different on my eyes. You can use a lash curler GENTLY on the lashes once they’re applied and the bond has dried – this will give your lashes a nice lift and could correct any issues with lashes curling differently.
Tips on Keeping the Lashes on Longer:
- For the first few hours, do not squeeze your eyes shut. The Bond is still setting and you could transfer some to your bottom lashes, causing them to stick together.
- Avoid getting your lashes too wet while wearing. This means while washing your face, work around the lashes as much as possible. Same with showering, do not put a direct stream of water on them or it will loosen the adhesive.
- Avoid sleeping on your face if at all possible. It could cause them to come off.
- If using the Falscara Lash Applicator, wipe off the applicator between wisp applications.
- You shouldn’t reuse the lashes, but if any lash wisps come off, you can still reapply them if it is within the first few days, otherwise you can also use any extras from a multipack.
Tips on Removing the Lashes:
- Once you are ready to remove, I remove them from the lash line and pull. See the video for more details. I’m sure there is another way but this way works best for me and doesn’t damage my lashes.
- The Falscara remover does not fully remove the glue residue. I suggest using a cleansing balm on the lashes and then following up with an eye makeup remover. That’s what has worked best for me.

Overall Thoughts?
Now that I’ve tried these a ton, I feel like I have a good grasp on how to do them and how to keep them on the longest. It definitely takes practice and each time I feel like I learn something new. I’m very impressed with these, especially with the price and I’m so glad they’ve tweaked a few things since they originally launched.
Now, again, I want to note that what works for me may not work for you. I have had issues with lashes my entire life- with extensions not staying on, strips and glues irritating my eyes, etc. So definitely try what you think is best! This post is my opinion based on my personal experience! 
I hope you found this post helpful! Let me know if you end up trying them or have found any tips helpful! Share it with your friends too! Thanks for reaching/watching and have a great rest of your weekend!

The post Updated Falscara Lashes Review | How-To and Tips & Tricks appeared first on Kelsie Kristine.
from Kelsie Kristine
https://ift.tt/3BIBWb9
https://ift.tt/38OShyt
Kelsie Kristine


Please Do Not Enter Any Spam Link In The Comment Box.